
There is no finer sight in the garden than a well-built shed. Storage is sorted, it looks aesthetically pleasing and is guaranteed to last for years – a great shed is worth its weight in gold. Putting one up is easy and satisfying.

How to decide which type of shed to use:
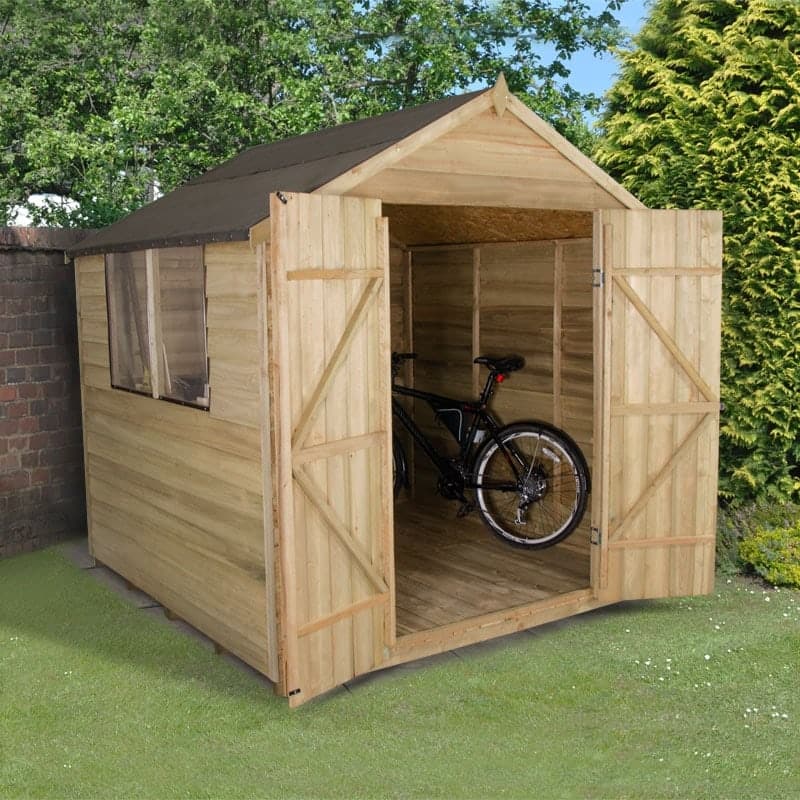
You’ve got to choose the right shed to suit your requirements. The popular choice of material is wood – easy to maintain, looks natural (and indeed it is!) and blends into any garden space. Metal sheds are suited to areas where a little more security is required. Plastic sheds are also available and do suit modern designs. They too are great for security conscious gardeners but do ensure you have plenty in there to weigh them down. Alternatively anchor well into a solid base.
Base principles
You have to have a firm, level base before you start the ‘nice’ part of putting up a shed. It’s the unseen work that provides the stability and ultimate success of the building. You only have to sort the base out once in the lifetime of the shed – so do it right. If pouring and laying a solid concrete pad for your shed do ensure the concrete has hardened (or gone off) before attempting to put the shed up. Same thing goes for any mortar underneath slabs. It’s surprising how much weight there is in a large shed and it’s enough to shift cement and mortar that hasn’t set.
Let’s go!
It’s worth considering paying someone else to put up your shed! It can be easy, it is obviously cheaper and it is deeply satisfying to put your own shed up – but only if you have the correct tools, someone to help and a basic understanding of which end of a screwdriver is best to use. Tools should be in the most basic of tool boxes: that screwdriver is handy (screws are better than simply nailing the whole together) a saw, a hammer for any tacks for the roofing felt; spirit level and square to ensure all is aligned; a Stanley knife to trim up that felt and that’s it. And that’s for wooden sheds in kit form. Making one from scratch, from raw, reclaimed wood, uses the same tools but takes more of that know-how and a lot more time.
It takes two
You can, and I’ve tried to, put a shed up all by yourself. But please believe me when I say that it isn’t a good idea. Even the smallest of sheds have panels that are ungainly, hard to handle and generally having a life of their own. Having someone to hold one side steady while you fix the other is perfect. Choose the right day to put the shed up. Torrential rain and high winds are to be avoided. Start early in the morning and plan to get everything back in the shed (if an old one has been dismantled to make way for a shiny new building) by dusk. Nothing beats the taste of a mug of tea in the fresh aroma of a newly erected shed as the sun begins to set. Nothing.
Starting off
If in kit form, lay out all the panels, pieces and bags of screws and make sure you have everything you need. And here’s a novel idea for some – read the instructions before embarking on your construction. In what is fast becoming a confessional blog, I have, with the exuberance of youth, bolted at the panels of a shed in kit form and tried to put the thing up in record time without reading the instructions. Sadly, neither exuberance or youth are in my armoury anymore – but the experience is.
Build it up
Start by fixing the floor of the shed to the base. Make sure it is centralised on the base and that you are entirely happy with the position. From now on there’s no going back. Lift the back panel into position on the floor but don;t fix it down yet. Mark the central point of the panel on the floor in case it moves during assembly of the other panels. Get your helper to hold the panel (to prevent any swaying of the panel) and do the same for one of the sides. Fix the side to the end. Then another side and finally the front. It’s nearly there!
On the roof
Assemble, if required, the roof panels and lift into position. Check that everything is square, in alignment and looking good before fixing the roof to the shed. Keep the set square and spirit level on the go and once happy that everything is as it should be, fix the whole shed to the base. Then finish off the job with any windows and door fixings. Nothing to it!
Top tips for how to build a shed:
- Lay out all the panels and bits and bobs before starting.
- Read the instructions.
- Take your time and always get someone to help.
- Keep everything aligned before securely fixing to the floor (which in turn is already fixed to the firm and level base!)
- Spend a few more quid and get an installation team to do it for you!
Video Guide:
For a visual guide on how to build a shed, check out our video below:
View our range of sheds here and check out some more handy tips