To maintain stability, prevent damage and reduce the rate that rot sets in on timber sheds, a base is required. Shed bases come in all different styles and sizes to suit all manners of sheds and a concrete block shed foundation is considered one of the easiest and best bases you can create. Read on as we explain how to build a shed base with concrete blocks.
Editor’s Note [11.07.24]:
Our guide to how to build a shed on a concrete block shed foundation was first published on January 13th, 2017. Today's update is extensive including new sections for tools and materials needed, answered a question about shed planning permission, as well as a conclusion and contact us section.
Additionally, we upgraded the benefits section (doubling the number of benefits) and added significant detail to our now ten step process. “How to build a shed base with concrete blocks – step-by-step”.
Benefits of using a concrete block shed foundation
There are many benefits of using a concrete block shed foundation, these include:
- Acts as a floor - the blocks act as a shed floor and therefore you do not need to build a secondary floor
- Cost-effectiveness - this type of shed foundation is more cost-effective than alternatives such as timber-based frames or poured concrete bases
- Durability - they provide a strong concrete foundation and can easily handle heavy loads
- Easy to clean - if the shed base becomes dirty the base can be cleaned very easily
- Longevity - they are totally resistant to rot (unlike wood) and rust (unlike metal)
- Lower floor - the shed floor is much lower than a timber base meaning it does not require a ramp for easy
- Moisture-resistant - the concrete blocks raise the shed off the ground, this reduces the risk of water rising from the soil and causing damage
- Withstands wet tools - the blocks can withstand wet tools which timber floors cannot, this makes them ideal for wet climates
Tools and materials required
To complete all the steps in our guide you will need access to the following tools and materials:
- Concrete blocks for shed base (not cinder blocks – these cannot withstand freeze-thaw cycles)
- Frame materials (timber, nails, or screws)
- Measuring tape
- Gravel or crushed stones
- Levelling tool (such as a plate compactor or hand tamper)
- Point posts
- Spade
- Spirit level
- Stakes or wooden pegs
- Tape measure
- Weed proof membrane


How to build a shed base with concrete blocks – step-by-step guide
Work through each of the steps to learn how to build a shed base with concrete blocks.
Step 1 - Choose the shed location carefully
An important consideration is where to place the shed. Do not rush this, as you will repent at your leisure if you place your shed in the wrong place. It is best to select a flat and level area for your shed wherever possible (if it is not possible, read this guide). If you are buying sheds with a window, you will want the best views and to place where good natural light is optimised.
It is not a good idea to place a shed directly against a fence or wall as you will struggle to make maintenance inspections and work if you do. Allow enough room outside to comfortably move around. Sheds love air circulation too, which will add years to their lifespan.
Step 2 - Measure and mark out
The next step after choosing the location is to measure and mark out the exact dimensions of your shed base. This will need a tape measure, to ensure your measurements are precise. Use stakes or wooden pegs with string to mark out each corner. Make sure to double-check your measurements one corner at a time. Accuracy at this stage is critical, everything that follows depends on the accuracy of your work here.
Step 3 - Excavate the area
Now you need to excavate an area of the building site around two–three inches deep to allow a gravel or crushed stone base. This will improve drainage and provide a stable base for your concrete block shed foundation.
Step 4 - Clearing and levelling
Take some time to clear and level the area where your shed will be built. Follow these steps:
- Clearing – clear the area of debris, grass, plants and topsoil
- Level – use a rake or shovel to make the area as level as possible. Add extra soil or sand if needed to level the surface
Step 5 - Lay down a weed membrane
Once the area is clear you can lay down a weed damp proof membrane. This helps to prevent water from working its way up into your garden shed from beneath. Simply add a sheet of damp proof weed membrane meeting the dimensions of your shed base.
Step 6 - Fill with gravel and level
The next step is to add gravel or crushed stone to the excavated area. Then compact the gravel with a levelling tool (such as a plate compactor or hand tamper). This creates a solid base, which needs to be verified for levelness with a spirit level. If required, make any further adjustments to make certain you have a level surface.


Step 7 - Place the concrete blocks
You are now ready to place the concrete blocks directly onto the flat surface of gravel or crushed stones. The exact placement of your concrete block shed foundation will depend on the shed’s dimensions. You might only need to place blocks at corners or, for larger sheds, you might need to place them at intervals of between 4’ to 6’ along the perimeter, with central blocks also being a possibility.
Step 8 - Ensure level and alignment
Once all the concrete blocks are in position, ensure they are level and aligned with a spirit level. Adjust where it is necessary by adding more gravel or crushed stones underneath the blocks. Once adjustments have been made, ensure that the layout is then square and aligned.
Step 9 - Create a timber frame or border (optional)
Although not mandatory, adding a timber frame over the concrete blocks adds another layer of protection. We recommend adding pressure-treated timber only and fastenings with nails or screws, in the desired shape to match the size of the floor joists of your shed.
Step 10 - Alignments and adjustments
Last, but not least, do some final alignment and adjustments. It is imperative, that your shed is flat, so completing this last check will give you peace of mind that you can now safely install your shed on top.
Your how to build a shed base with concrete blocks project is now completed!
Buying a base from Buy Sheds Direct
A concrete block shed foundation is one of the easiest to build. Instead of pouring concrete onto your garden and ruining a section this concrete base can be removed or moved very easily.
If this still seems like a process that you have no time for or is too complicated for you, check out our fantastic shed foundations on offer on site that removes all the hassle of the above by clicking the link here.


Alternatively, if you want to know how to build a wooden shed base, (and the shed on top!) why not watch our videos below*?
*Remember, all of our wooden shed bases are shown in the shed base options drop down of the product pages
- and don't hesitate to get in touch if you have any questions about them.
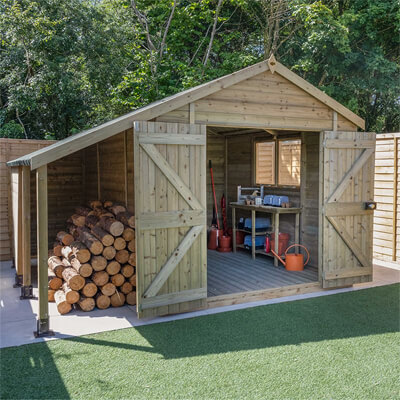
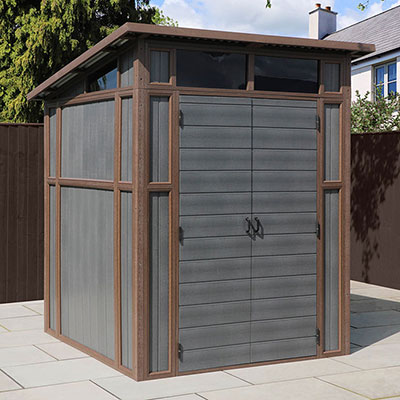
Oh, and while you're here, why not take a look at a couple of our bestselling sheds? Here are a few examples - Click on the images for more information:
Is planning permission needed for a shed installation?
It is unlikely as most sheds do not require planning permission. For comprehensive information on this topic, read our related article.
Conclusion
We started off our article by focusing on the benefits of using a concrete block shed foundation. These were determined to act as a floor, be cost-effective, highly durable, easy to clean, provide longevity, have a lower floor, be moisture-resistant, and withstand wet tools. We have also detailed all the tools and equipment you will need.
If you approach building a concrete block shed foundation systematically you should be fine. So, read our ten steps to installing concrete blocks for shed base projects. These should tell you everything you need to know.
Contact us
Hopefully, you have all the information you need as to how to build a shed base with concrete blocks. If you do need further assistance though our friendly team can advise about using concrete blocks for garden shed base projects.
You can contact Buy Sheds Direct using any of these methods:
- Calls - contact us at 0333 003 0514
- Emails – these can be sent using our contact page
- Live chat – we offer real-time support using live text chat


