If your shed has come to its end of life and needs to be dismantled and disposed of, let us guide you through how to dismantle a shed safely.
Each old shed will be different to dismantle but following this general rule you will have it down in no time: simply reverse the shed construction process.
Before you start, consider placing your shed on a free recycling website, or maybe Facebook, Reddit or Nextdoor. You may find people who are willing to dismantle and remove your shed so they can repair it and reuse it.
Read on to learn more in our how to dismantle a shed step by step guide.
Editor’s Note [15.12.23]: This Blog was originally posted on the 13th January 2017 but has now been updated to include the Essential Tools, Materials and Safety Equipment needed to dismantle a shed, tips on dismantling the floor of a shed and a guide on the Environmentally Friendly Disposal of your shed.
Preparation Required for Dismantling a Shed
You need to finish some preparation work before you start tearing down your shed or other garden buildings. The key to making sure the job goes smoothly and that you do not, say, drop a wall on your foot or something, is to have the right tools, supplies, and safety equipment.
Essential Tools
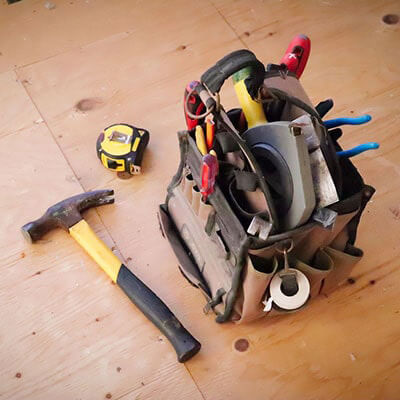
Before commencing with dismantling a shed ensure you have the correct tools. Using the wrong tools or not having access to tools can cause personal damage and injury. Listed below are the tools needed for your toolkit:
- Adjustable wrench – this is especially useful for easy working with bolts
- Chisel – this enables finer work as and where precision is needed
- Claw hammer – a classic tool, which is essential for prying things apart and hammering
- Cordless drill - this quickly removes all the screws, a power drill is even better
- Ladder – safely reach heights as and where needed
- Pliers – precisely grip and pull nails and other small items
- Pry bar – this enables levering and dismantling as required
- Saw – this is needed for cutting of various materials
- Screwdrivers - various sizes are needed for the management of stubborn screws
- Tape measure - to precisely measure during the shed dismantling
- Utility knife - for slicing through any material as it is needed

Essential Materials
Materials are required too. Here is a summary of what is required:
- Duct tape - fixes materials in place, temporarily whilst dismantling is in progress
- Dust sheets - to protect your lawn or patio from dust, dirt, grime, etc.,
- Markers - to label the parts of the shed that you might want to keep or reuse
- Protective tarpaulin – this is necessary in case of sudden rain and to cover leftover materials
- Ropes or straps – these are required for securing parts during their removal
- Waste bags – needed to place all the debris you are removing
- Wooden planks – these are perfect for supporting unstable shed sections
- Zip ties – these help to bundle stuff together neatly
Safety Equipment
Wearing safety equipment is also important, here are some items to have access to:
- Dust mask - keep lungs clear when dust is flying around
- Ear protection - if you are using loud power tools (e.g., drills)
- Hard hat - with overhead hazards, protecting your head and brain is critical
- Heavy-duty gloves - always protect your hands from splinters and cuts
- High-visibility vest – this is important, so others can see you
- Knee pads - your knees will thank you for this equipment after the work is completed
- Safety goggles - keep eyes safe from flying dust and debris
- Steel-toe boots – these protect toes and feet in case something heavy falls
Pitfalls to Prepare For
It takes more than just pulling things apart and crossing your fingers to dismantle a shed. It is a good idea to be aware of small setbacks that could complicate your do-it-yourself project:

- Debris disposal - figuring out what to do with all the rubble can be a challenge
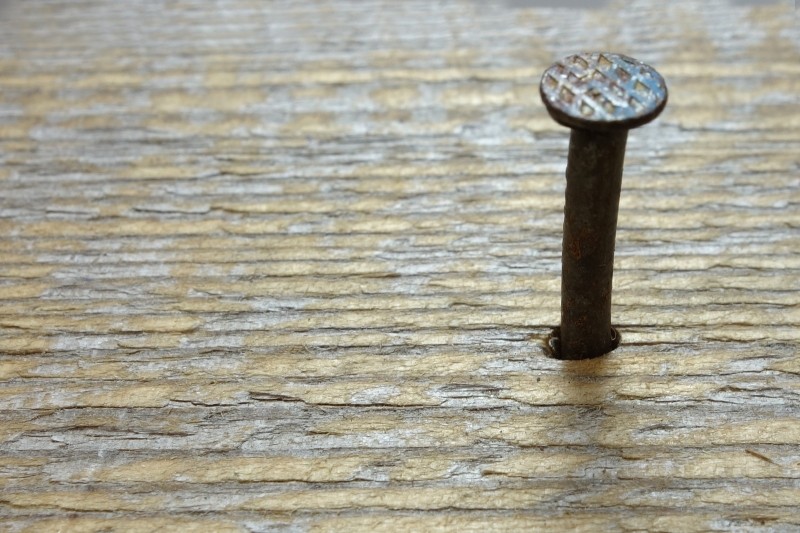
- Hidden nails and screws - these sneaky little fasteners can cause injuries or damage tools
- Instability - beware of wobbly walls or roofs that could come down unexpectedly. Similarly, be wary of broken glass and rotten wood
- Rusty fixtures - rusty screws and hinges are dangerous and tougher to remove than you might imagine
- Strength demands - some shed parts are extremely heavy and will require two people to safely lift
- Weather woes - a sudden downpour can turn your dismantling site into a challenging slippery mess
- Wildlife surprises - you might find some unexpected squatters that have made your shed their home (e.g., ants, bees/wasps (perhaps a hive or nest), rodents (rats and mice), spiders and more)
How to Dismantle a Shed
Listed below we advise how to dismantle a garden shed, for each area of the shed, these principles broadly apply to any of a wooden shed, plastic shed, or metal shed dismantling.
The Windows
It is best to start with the windows as you don't want them falling and smashing. Remove any screws or nails that will come free easily. Then, use a crowbar to levy the window frames away from the shed. It is wise to have a second pair of hands to support the window as you pry it away from the shed. If your windowpanes are cracked, grab a big painter's sheet, and wrap it up to prevent cutting yourself.
The Door
Again, remove any hinges if possible. If the hinge mounts have rusted, you may need to use a crowbar once again. Start by applying pressure to the frame and it should come away quite easily.
The Roof
The shed roof structure is the largest component of the shed and is most likely to have rotted. Start by ripping off any felt roof panels to see where you are going to start. Using either a screwdriver or crowbar again, remove any attaching screws and then pull the roof boards off. This can take more than a few sets of hands and it can be a heavy item to remove so it's always wise to have some help. The shed roof covering is responsible for the stability of the walls so be careful that walls do not immediately fall down.
The Walls
The shed’s walls will be the final area to breakdown. If you need to add temporary supports, then use timbers that can be dug into the ground to support the remaining walls whilst you break the others down. Either prise the wall panels apart and then remove them with a crowbar or, if it's a newer shed, unscrew the fixtures.
The Floor
First you will want to clear everything out of the shed, to avoid tripping. Then, grab your tools, such as a crowbar, hammer, and drill if there are screws to deal with. Start by prying up the floorboards; this might take a bit of muscle. Remember, safety first by wearing safety gloves and goggles. Take this step by step, board by board, and before you know it, you will have that shed flooring removed.
The Base
The final part of our step by step approach to how to take down a shed is the base. If you have a concrete or slab base, you may be able to reuse it depending on the size of your new shed.
If you have one of our plastic shed bases. you will have the option of moving it or reusing it. If you opted for a wooden base, check carefully for signs of rot. Again, if the new shed is the same size, you may be able to reuse it.
Environmentally Friendly Disposal
Alright, so you have just taken down your garden shed, great job! Now comes the next step: dealing with the leftovers in an eco-friendly way. Once your shed is dismantled, you will need to break up the larger pieces (e.g. shed panels) for easier transport to a recycling centre. This bit is key if you embrace green living. While you are at it, you might find you can keep some parts for other uses. It is like giving your old garden shed a new purpose.
Separate all materials and place them in the correct recycling bin or separate bags for your local recycling centre. Burning wood from a wooden shed is best avoided as it is likely to contain hazardous chemicals (particularly to lungs and eyes) from timber treatment, again dispose of this at your recycling centre.
Replacing Your Shed
Now is the best bit. Explore our extensive range of garden sheds and find the perfect garden shed to replace your old shed.
And, if you need to know how to rebuild your shed after moving it, check out the video below:
Conclusion
In conclusion, taking down your shed is a significant undertaking that calls for more than do-it-yourself labour. Make sure your toolkit is ready, your safety equipment is current, and you are ready for anything that might come up unexpectedly (like wildlife or hidden nails, for example). But you will be getting close once you have finished the doors, windows, roof, and walls.
Just keep in mind to consider going green when doing significant cleanup. Disassembling items for recycling or inventive repurposing is not only fun but also good for the environment. There you have it: safe, environmentally friendly, and methodical DIY project for how to take down a shed.
Contact Us About How to Take Down a Shed
Although our team normally advise on buying sheds, we can also offer some advice about how to dismantle a shed. Why not speak to us today about the approach to take for dismantling a shed and perhaps about buying a new shed?
Contact methods to choose from include:
- Phone calls - 0333 003 0514
- E-mails – send email messages through our contact form
- Text chat – talk to us in real-time using our text chat app
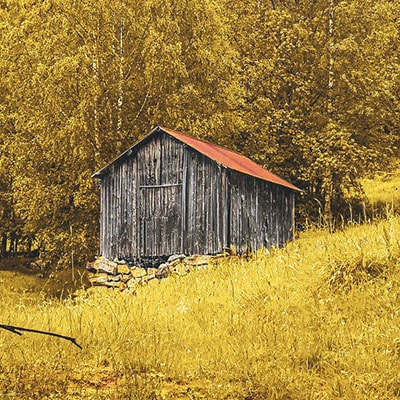
(Top image: Gustavsson Fredrik on Flickr)

